
Any holiday or occasion is a good excuse to make new kitchen and dining accessories! This is a quick project you can still do before Thanksgiving if your kitchen or table needs a boost, or if you find yourself in need of a hostess gift!
These are great for using up smaller pieces of leftover fabric (we know about your fabric stash… 😀 ), and for practicing quilting techniques – free motion, channel, following a pattern on your print, using your walking foot – any! The stitched on loop is incorporated in the binding and gets you out of having to match up binding ends neatly, and provides an easy way to hang them in a cupboard or above the stove for easy access!
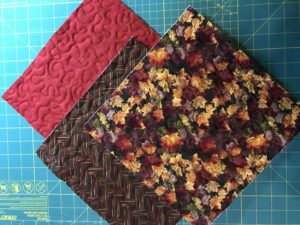
We’re welcoming Fall holidays with some themed fabrics we’ve used a few different techniques with. Here’s what you’ll need – materials specified have been selected to protect from the heat when coming in contact with hot items! How much you need in total will depend on what size and how many potholders/trivets you wish to make.
- Cotton fabric;
- Insul-Bright (Needle punched insulated lining);
- Cotton batting (Warm & Natural will work fine);
- Cotton thread;
- Spray adhesive such as 505 or KK2000;
- And of course your sewing machine!
These are just suggested sizes – we think it works well for use as either a large potholder or a trivet – but you’re the designer and you can make yours any size you like!
Cut the following for each:
- 1 – 12″ square of front fabric
- 1 – 12″ square of back fabric
- 1 – 12″ square of Insul-Bright
- 1 – 12″ square of batting
You’ll also need a 2-1/2″ strip approximately 48- 50″ long for binding/loop (this will vary based on your selected finished size, but – more is better!). If you need to piece the strips to get that length – add more! (Instructions on how to do this follow).
Let’s get started!
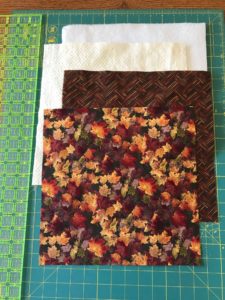
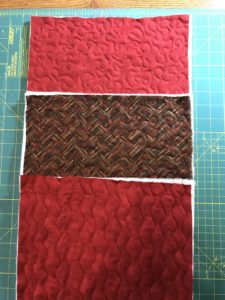
Layer your fabrics to create your sandwich:
- Front fabric (the one that will come in contact with heat) right side down;
- Insulbrite on top of that with shiny side against wrong side of front fabric;
- Warm & Natural
- Back fabric right side up
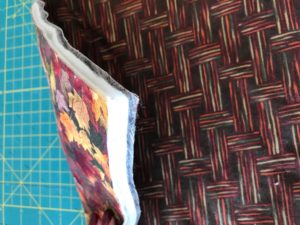
Time to quilt! Again, this is a great way to practice – we stippled one, did some free motion with loop designs on another, and used the serpentine stitch in the machine on the third –
Quilting can cause some distortion as seen above and below –
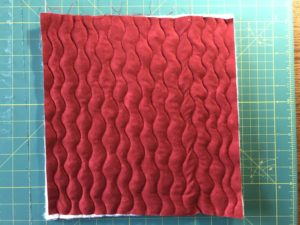
So after quilting we squared off each one. You may choose to cut smaller squares to start, but you can also decide at this point what size you’d like to make your potholder/trivets.
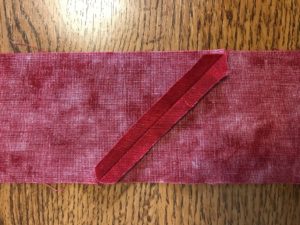
Looking good! Now time to make your binding. We joined multiple lengths of 2-1/2″ strips to make one strip long enough plus extra for mitering corners and creating the loop hanger. To join your strips and reduce bulk, lay two strips right sides together, at right angles as shown –
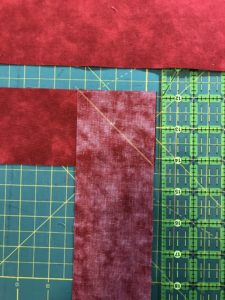
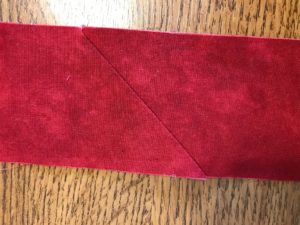
Mark a line at a 45 degree angle to stitch. Refer to picture to draw your line correctly – it’s a good idea to pin along the line and fold the strip shown wrong side up to the right to be sure it’s going the right way! Then stitch along line. Trim off excess so you have a 1/4″ seam, press open. This is how the wrong side of your strip should look –
And here’s the right side –
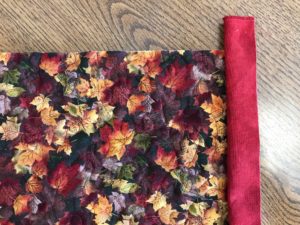
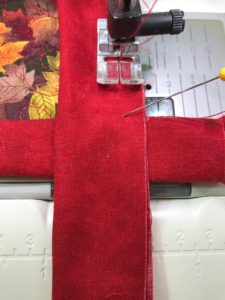
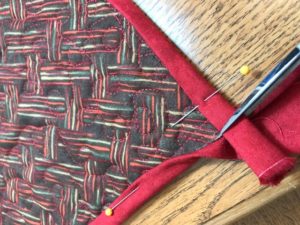
Fold binding in half lengthwise, do not press. Leaving a little hanging off edge, begin stitching to potholder/trivet. We used a scant 3/8″ seam. Stitch to a scant 3/8″ from end (we mark that point with a pin) and stop. We secure our stitches, up to you!
Now fold your binding strip 90 degrees to the right –

Fold it back over itself as shown, stitch from end repeat on next corners –
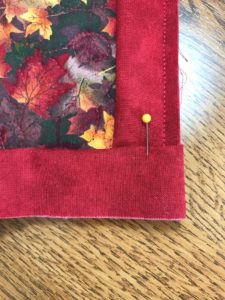
Now you’re coming up to the corner where you started. We folded out that first strip of binding then placed a pin at the seamline where we first started. Just stitch to the pin and secure –

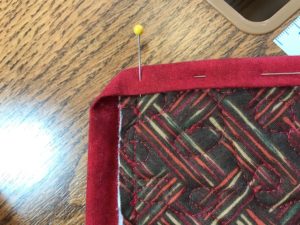
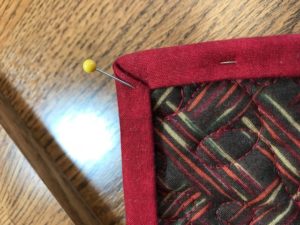
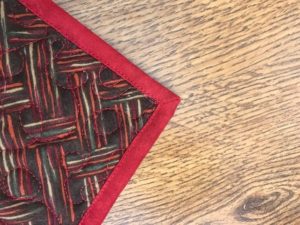
Fold binding over edge, mitering corners as shown – pin in place or we also love Wonder Clips!
Trim end when you get back to first corner –
We used our stitch in the ditch/edge stitching foot to finish the binding –
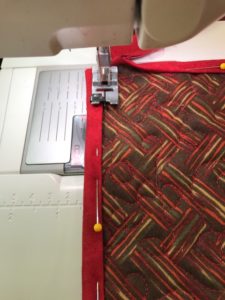
Continue to stitch your binding several inches beyond the corner –
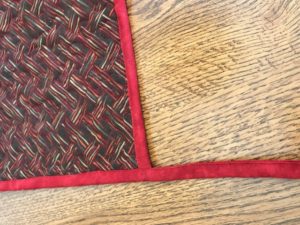
Check out your mitered corners on the back – lookin’ good!
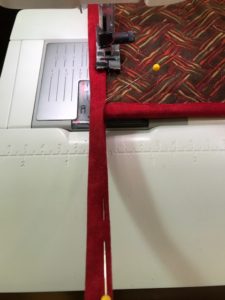
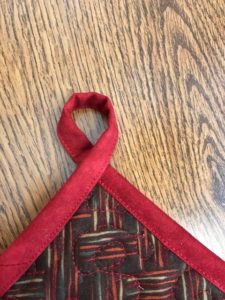
Now use the extra length of binding to curve around to form a loop –
On reverse side, trim the binding strip to a managable length fold under, stitch to secure one edge of loop as shown –
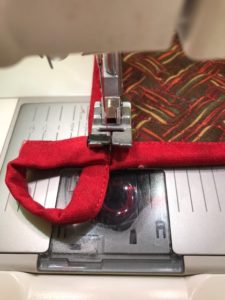
Trim off excess –

We folded the loop back on itself to cover the raw edge and did another row of stitching. Finished!
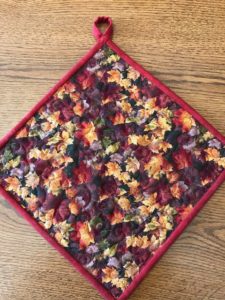
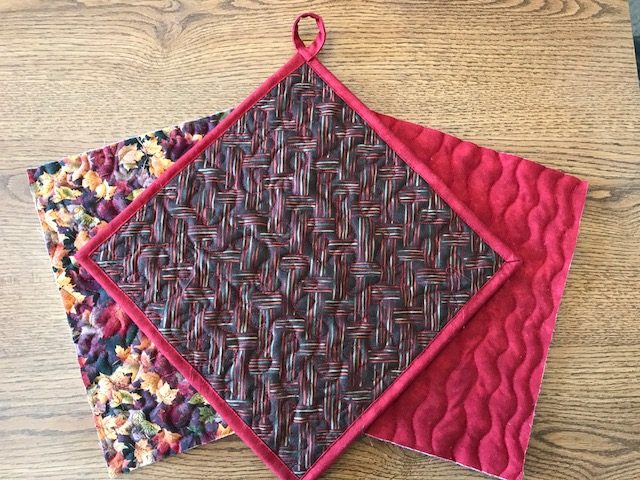
Coordinating colors make a lovely addition to your home or a gift for someone else (as you can see – we’ve got to bind those last two fast!)
Click below for printable instructions!
Fall Potholders / Trivets With Loop Hangers
Hi Dear,
I am glad to find your website. I will be membership very soon and I am so excited. This potholder method is wonderful for gift. Thank you